How to Set Up Bria Mobile on iOS
Step 1: Registration
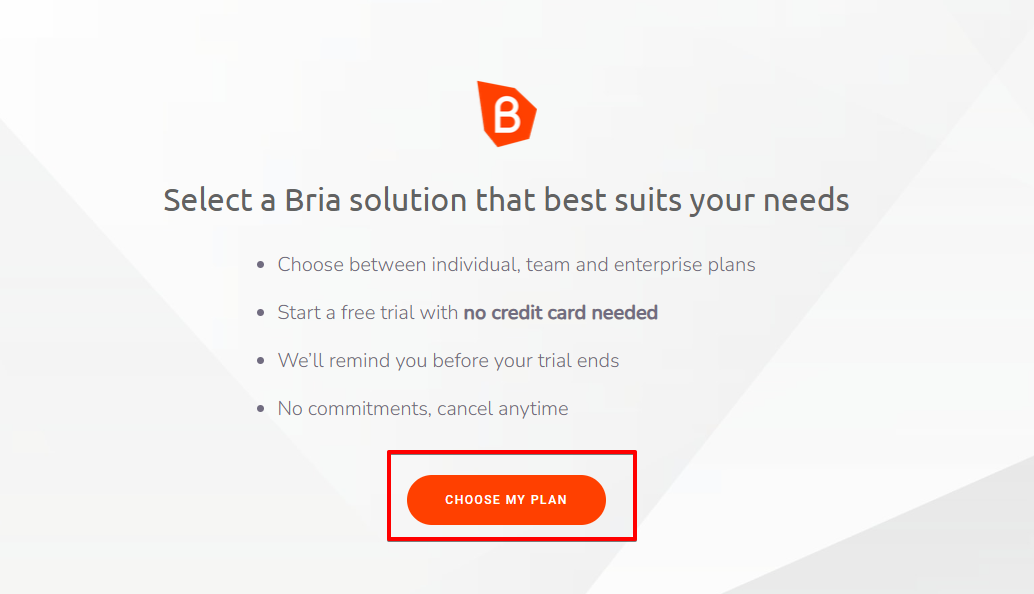
To set up the “BRIA SOLO” application, you need to go to the following link and create a personal account: https://www.counterpath.com/
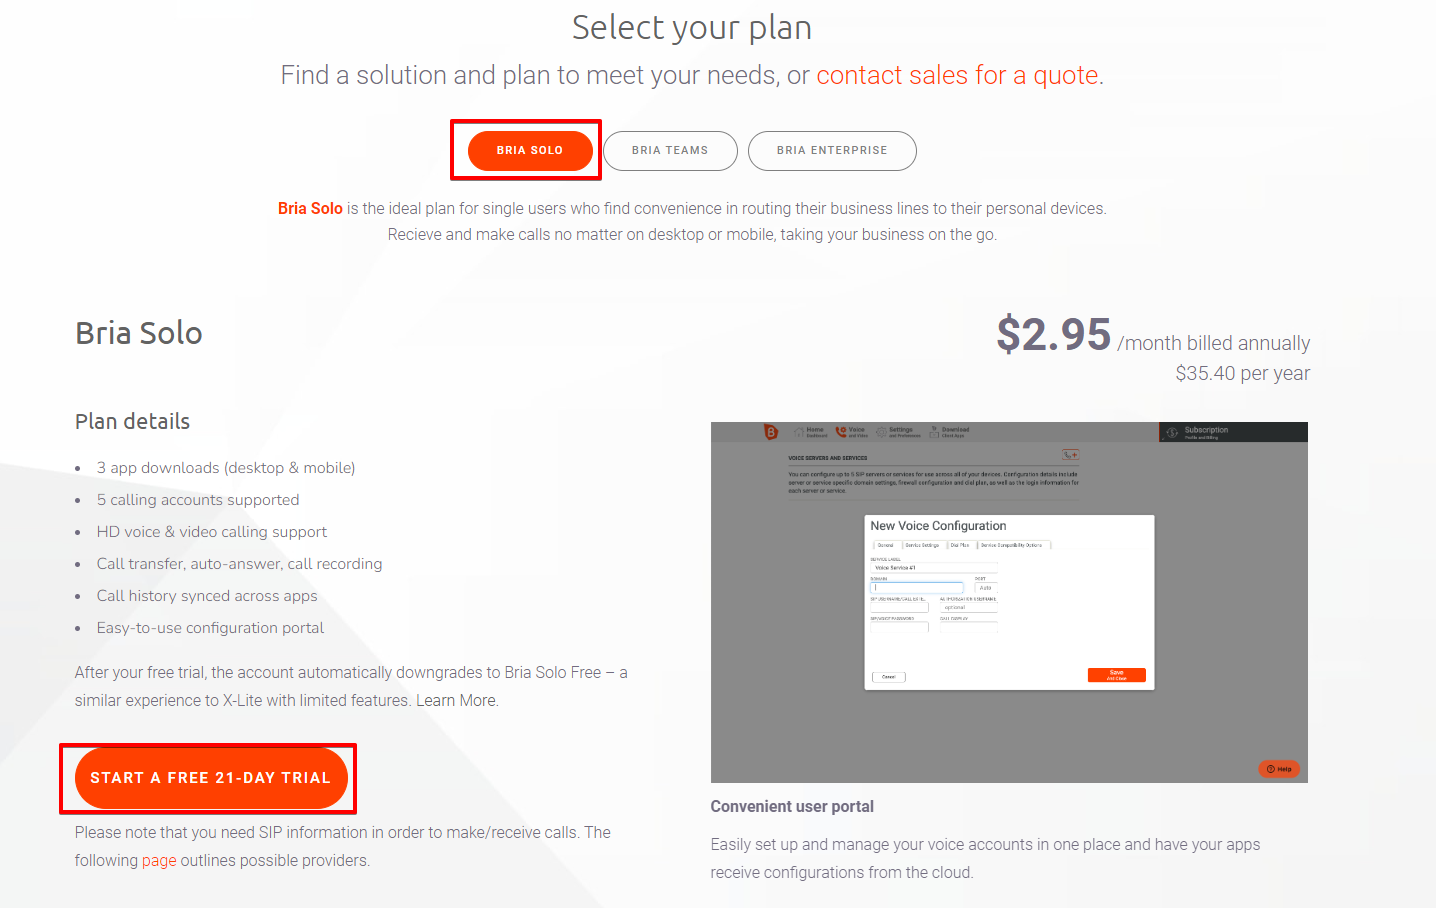
To register, click on the “START MY FREE TRIAL” button or go to the link https://solo.softphone.com/logi

ㅤ

ㅤ

ㅤ

ㅤ
Next, you need to provide your email, password, and full name, which will be used for logging into the “BRIA SOLO” personal account.


After filling in your personal information, check the user agreement and click on the “Accept Terms and Create Account” button.

ㅤ
Step 2: Line Configuration
After successful registration, you will be redirected to the “BRIA SOLO” personal account, where you need to configure the SIP line used for calls. To configure the SIP line, click on the “CONFIGURE SIP SETTINGS” button.

ㅤ
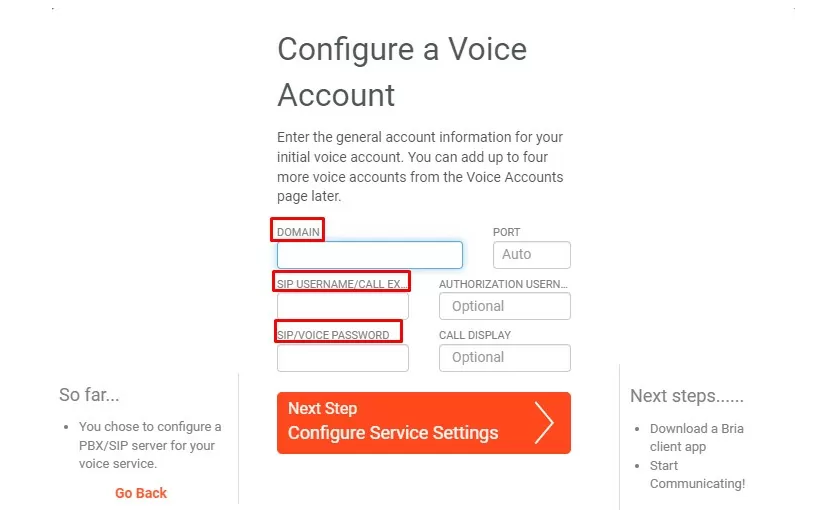
Next, you need to enter the settings for your SIP line. Specify the following information:
- DOMAIN – sip.streamtele.com
- SIP USERNAME – 800XXXXX201
- SIP PASSWORD – test1234
Note that these details may differ from what we provided in the instructions

ㅤ
In this window, change the transport type to “UDP.” Leave the rest of the settings unchanged.

ㅤ
Done! You have created an account in “BRIA SOLO” and configured the SIP line. Next, you need to download the application for MacOS, and then click on the “SET UP COMPLETE” button to confirm the settings.

ㅤ
Step 3: Launching the Application
After installing the application, you need to enter the email and password provided during registration.

ㅤ
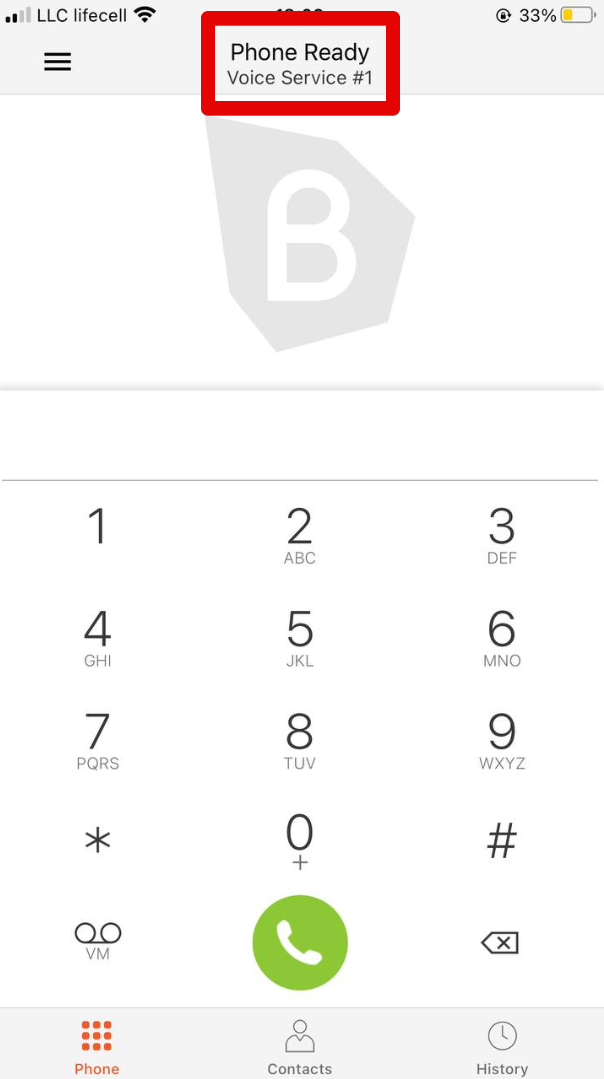
After configuration, the main window should open with a green checkmark indicating an active line. Congratulations, the setup is complete.
